
“Nattō” Odyssey: Three Ways to Make Japan’s Famous Fermented Beans at Home
Food and Drink Culture- English
- 日本語
- 简体字
- 繁體字
- Français
- Español
- العربية
- Русский
Japan’s Fragrant Health Superfood
Nattō, a traditional dish of fermented soybeans, has been around for centuries. Love or hate its pungent odor and viscous texture, it is hard to ignore the growing buzz over the sticky food’s numerous health benefits, including as a rich source of protein, fiber, and various vitamins.
In Japan, supermarkets and grocery stores carry nearly every variety of nattō imaginable, and the gooey beans are gradually becoming more widely available at Japanese markets and other specialty shops overseas. Adventure-seeking foodies, however, can raise the culinary bar by skipping the middleman and making the fermented beans from scratch. The process is relatively uncomplicated and novices will find all the information needed to get started fermenting on the Internet. A good place to begin is with an experienced home-fermenter who goes by the compelling handle Nattō Dad. The US-based bean-meister has several instructive videos explaining the basic process and a website that covers the finer points of his techniques in more detail. There is no one way to make nattō, though, and same people may find the small army of bloggers and vloggers out there who brush aside traditional methods and ferment their beans in appliances like yogurt makers or slow cookers more to their liking.
Below is a breakdown of three common approaches to making nattō, cobbled together from online sources and based on the author’s personal experience of trying not to screw the process up.
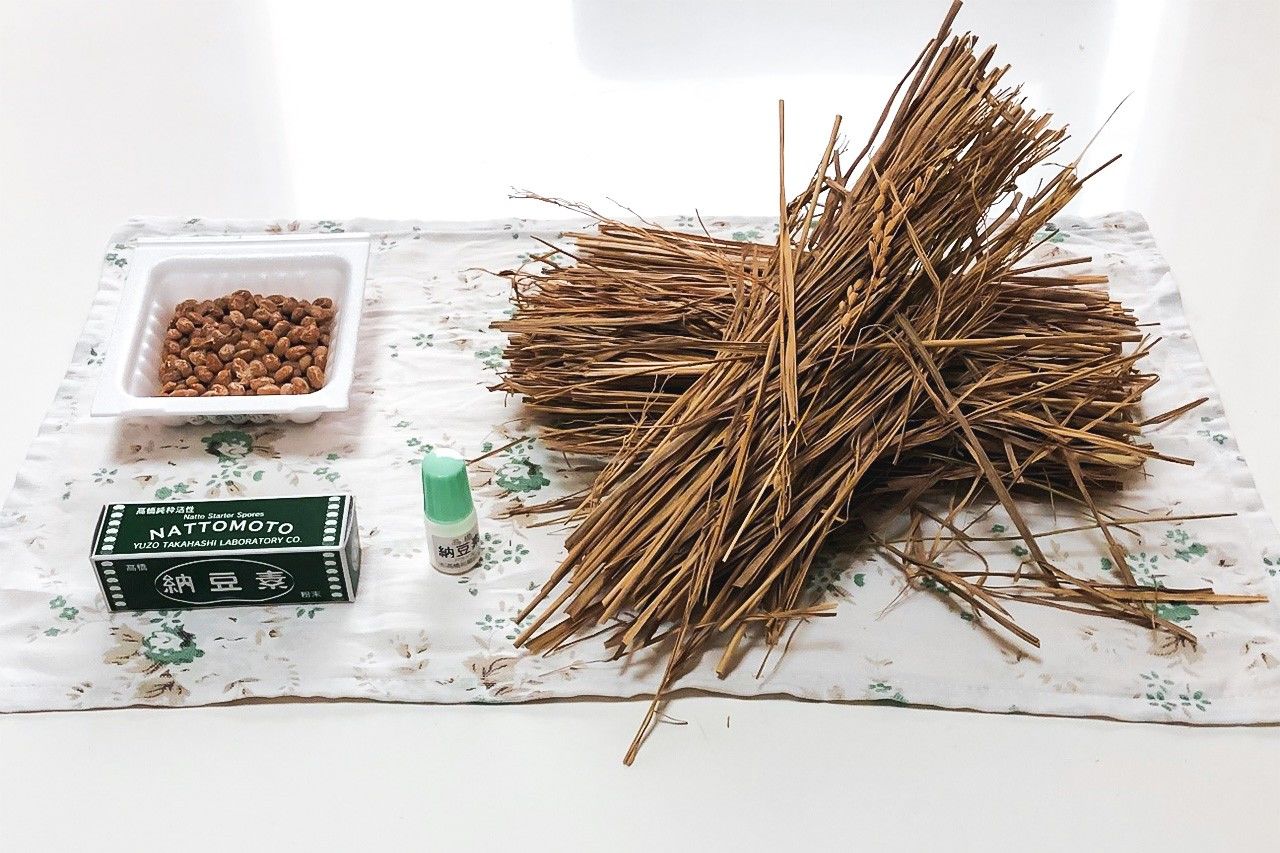
The author attempted to make nattō using store-bought beans, powdered spore starter, and rice straw as seeding agents.
Full of Beans
The main ingredients of nattō are soybeans and the fermenting bacteria Bacillus subtilis, known as nattō-kin in Japanese. Versions can also be made from legumes like chickpeas and even ginkgo nuts, but Bacillus subtilis is best suited to breaking down soy proteins, and fermenting newbies should get some experience under their belts before shaking up the recipe.
As a side note, people working in certain industries like winemaking or cheese production may want to speak to their employer before trying their hand at nattō-making. Nattō-kin is great for making the pungent beans, but can wreak havoc in other fermentation processes. In Japan, sake and soy sauce breweries, among other businesses, forbid workers to eat nattō for part or all of the year out of fear that stray spores might contaminate their products.
The amount of soybeans to prepare depends on your proclivity for consuming nattō, but 300 to 400 grams of dried beans is a good amount for a homemade batch. To start, wash and strain the soybeans, then soak them in water for 8–12 hours (rehydrating may take as long as 16–24 hours during the colder months). After the beans have doubled in size, drain the plump legumes and transfer them to a pot for cooking.
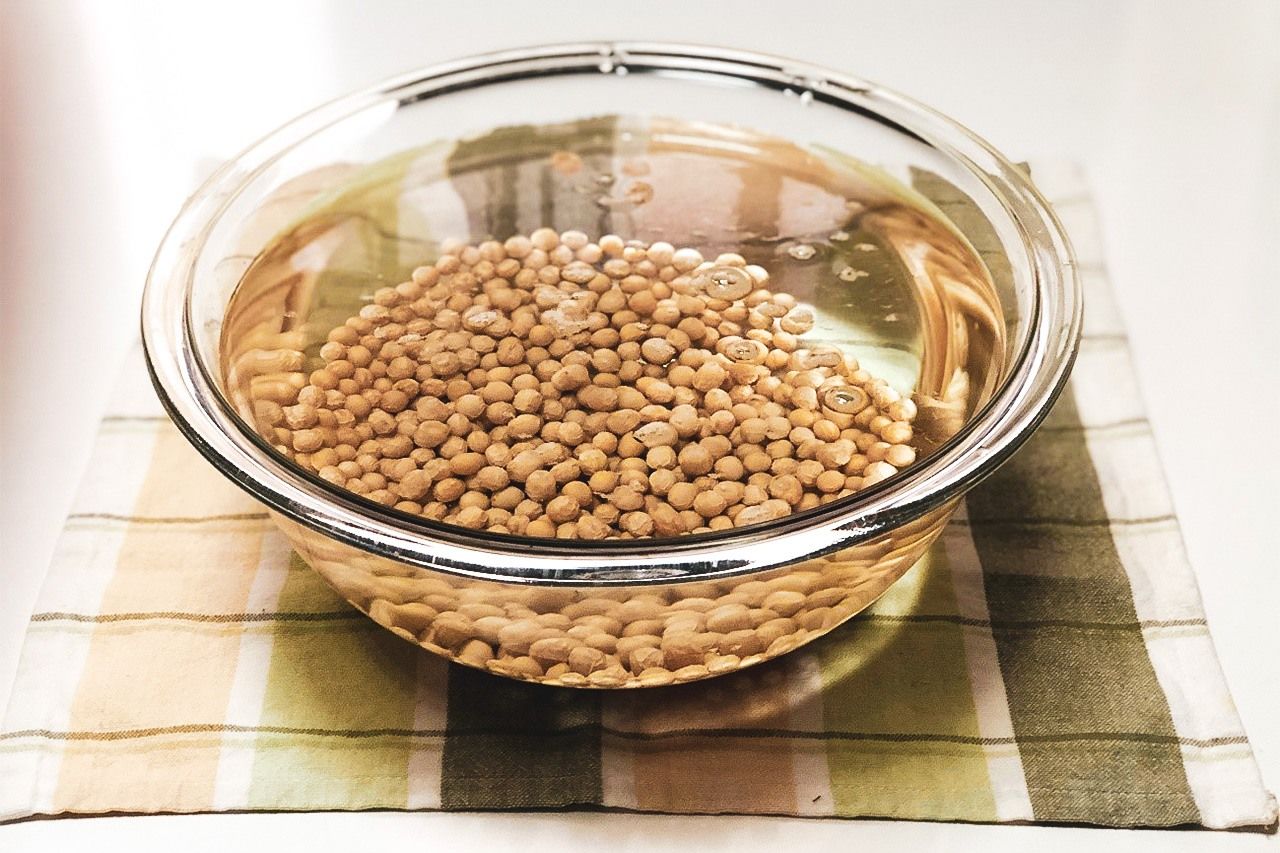
The soybeans need plenty of water to soak in. A three-to-one ratio is a good rule of thumb.
Cooking is the most labor-intensive step in making nattō. It takes around three hours for the soybeans to become suitably soft (they should squish easily between thumb and forefinger) by boiling or steaming. Take care not to overcook the beans or allow the water to bubble too vigorously as this can result in an overly soft batch that is hard to handle. I highly recommend the less arduous technique of preparing the soybeans in a pressure cooker, as it takes about a third of the time as boiling (40 minutes to cook at full pressure) and keeps the legumes in pristine shape.
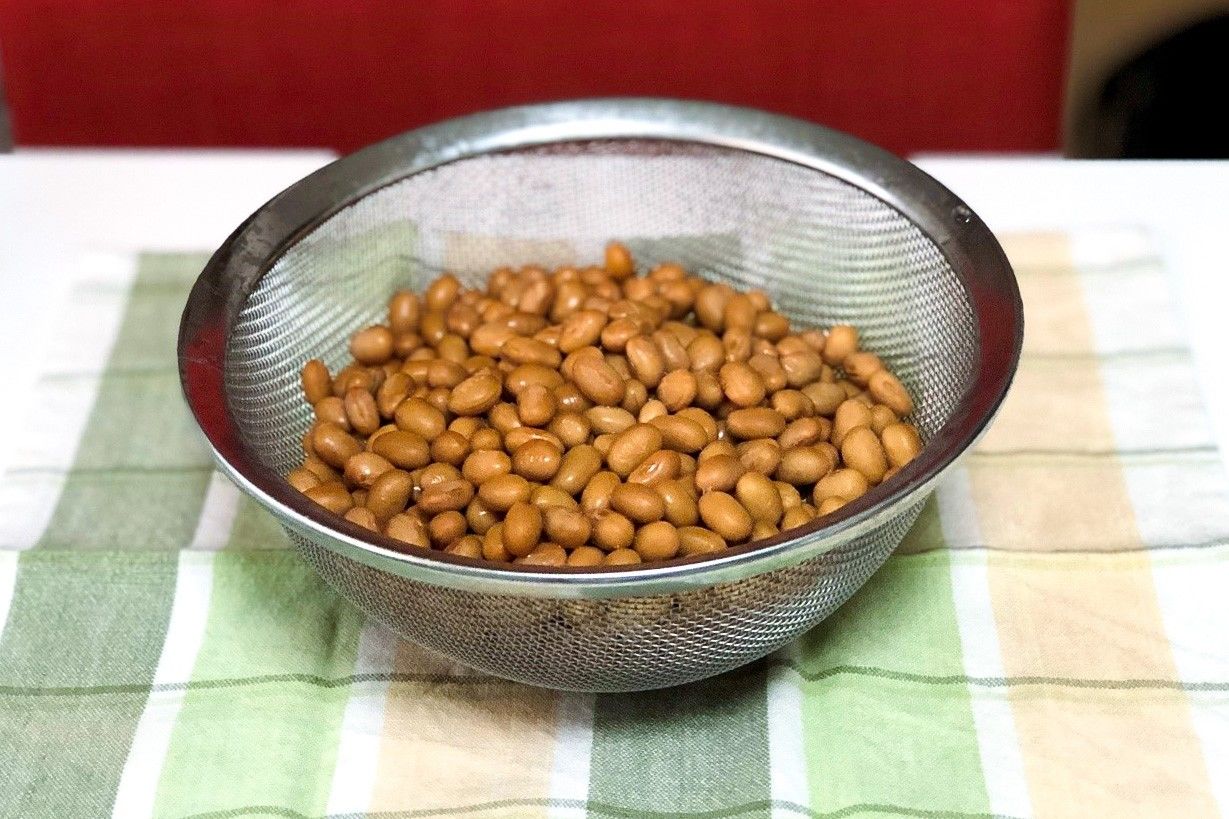
Soybeans, cooked and ready for fermenting.
Sporing Partners: Three Common Approaches to Making Nattō
Once the soybeans are fully cooked and, if necessary, strained, they are ready for the addition of nattō-kin. This can be done using commercially available powdered starter spores, nattō itself, or the age-old method of wrapping the beans in rice straw. Whichever method is employed, fermenters are wise to sterilize all utensils and containers either with a chemical agent like bleach or by boiling to keep unwanted microbes from hijacking the batch.
- Store-bought nattō: This is perhaps the simplest and most cost-effective technique, as a typical three-pack of beans can be picked up for around ¥100 and will yield umpteen batches. After transferring the cooked soybeans to a tray or other container for fermenting, all that needs to be done is to mix in around a half tablespoon of natto (the unused portion in the tray can be frozen for later seeding or savored over a steaming bowl of rice). Some nattō makers recommend dribbling a few spoonfuls of warm water from the cooking pot over the dollop of starter beans to help loosen the threads, making the mixture easier to stir and helping ensure that every bean becomes thoroughly coated in nattō-kin.
- Powdered starter spores: These provide a similar cost-yield ratio as store-bought nattō, as even a tiny, 3-gram bottle—available online for around ¥1,000—will keep your average home fermenter rolling in sticky beans for many moons. The amount of starter needed will depend on the size of the batch, so it is critical to read the instructions that come with spores carefully first. Once you have determined the appropriate quantity, dissolve the powdered starter in a small amount of warm water (some say water heated up to around 80° Celcius makes for more viscous nattō) and stir it into the cooked soybeans, leaving no legume unturned.
- Rice straw: Making old-fashioned nattō is by far the most involved method, but also very satisfying, as long as everything goes to plan. Finding rice straw (ine wara) may pose some challenges, but in Japan it is easily obtained online or at stores boasting sizable gardening departments (look for it in the mulch section). Straw typically comes straight from the paddies and needs to be washed and rinsed by hand several times to remove dirt and grime. After scrubbing the wara, bundle it into bunches of about 60 reeds, fold these in half to form a package about 30 centimeters long, and tie both ends with excess strands of straw. Next, steam the bundles for about 20 minutes, which will vanquish any unwelcome microbes but leave the wonderfully resilient nattō-kin After steaming, pull outward from the center of the bundle to create a pocket and fill it with cooked soybeans. Close the bulging package completely (the beans should not be visible) and secure it firmly with the straw ties on each end.
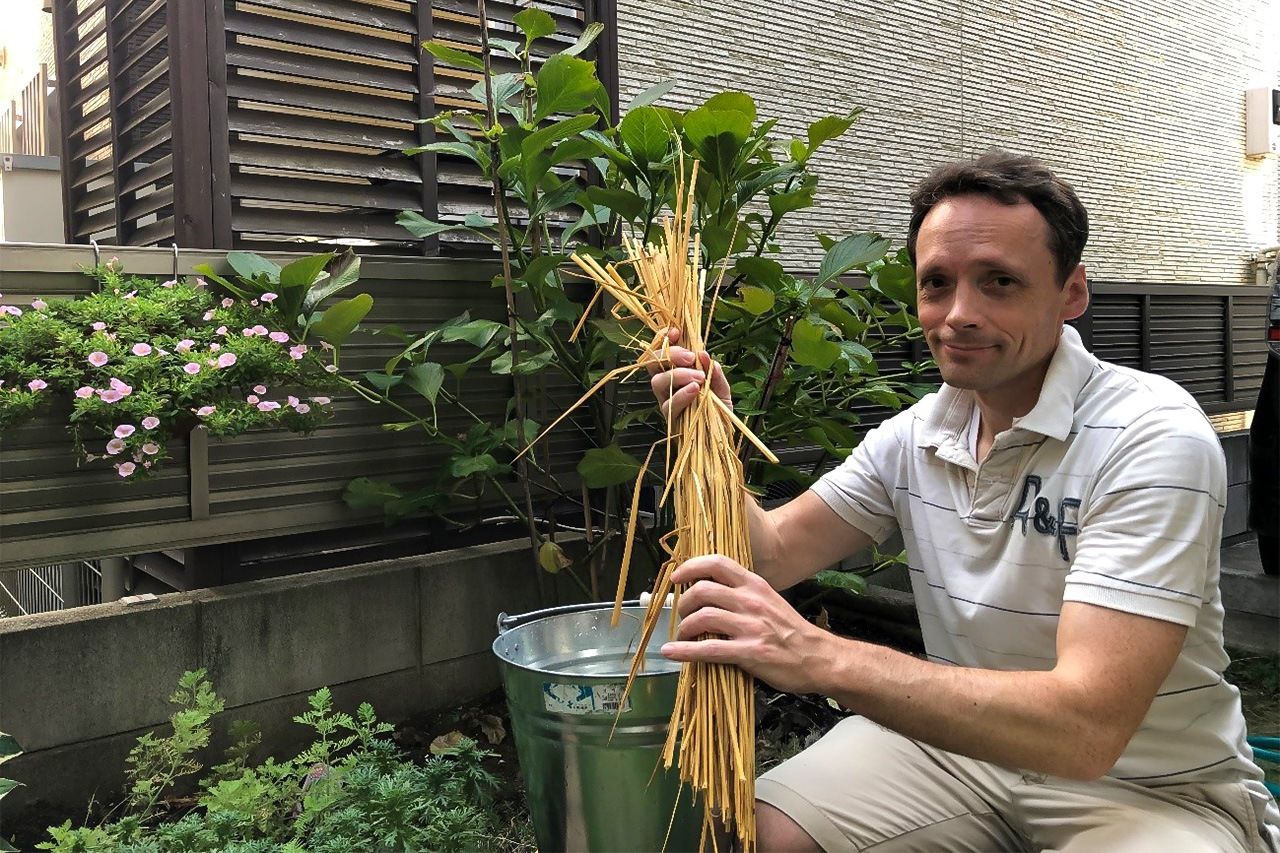
The author in the garden scrubbing rice straw.
Nattō Genesis
The final step in the nattō-making process, fermenting, is all about giving Bacillus subtilis a suitable environment in which to work its magic. Fermenting works best at 40° C, give or take a few degrees. At this temperature, the bacteria will transform the beans into nattō in about 24 hours. In Japan, a common approach is to swaddle trays of seeded beans in blankets and towels and stash these under a kotatsu, a traditional type of heating table. However, just about any confined space with a stable heating source will do. Cover the beans with plastic wrap (some people recommend punching ventilation holes with a toothpick), a paper towel, or even a dish cloth to keep them moist. Signs to look for to determine if a batch was a success are that the concoction will exhale the telltale bouquet and present strong threads when stirred.
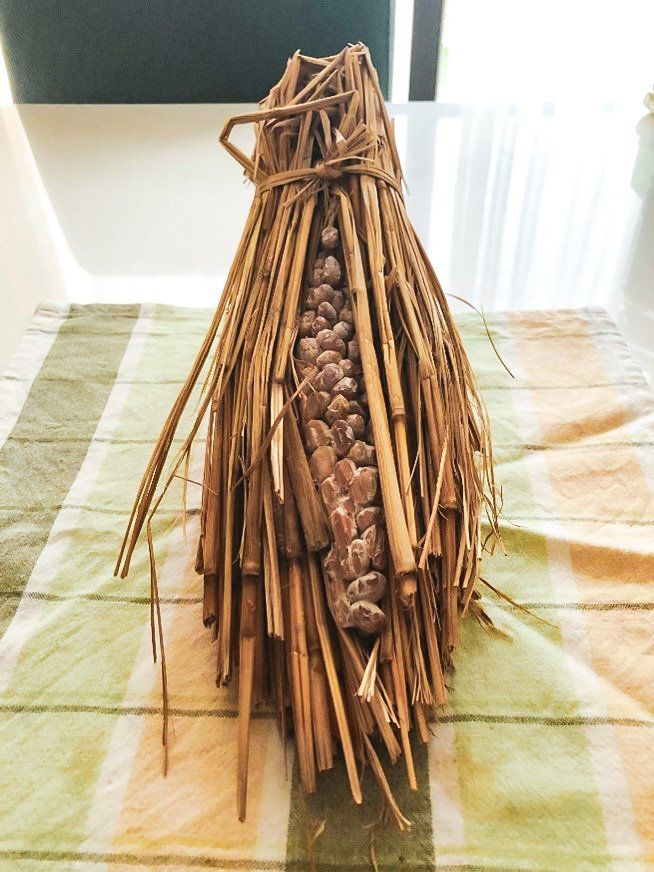
Rice straw is a natural carrier of nattō-kin and was used to make fermented beans for hundreds of years. The “halo” of bacteria is a tell-tale sign that the nattō is ready.
Once a batch is finished fermenting, allow it to cool for a few hours before transferring it to the refrigerator. Some home fermenters recommended allowing a fresh batch to “mature” in the fridge for two to three days before consuming. Homemade nattō will typically keep for several weeks.
Takeaways
After trying each of the three seeding techniques several times, I found all produced about the same quality of nattō. One batch had a strong hint of ammonia, but otherwise the beans were on par with store-bought varieties. Each step was fairly straightforward, although the trickiest part was ensuring a batch remained adequately heated during the fermenting process (the more blankets and towels the better). As far as preferences go, though, there was something viscerally pleasing about fermenting beans with only rice straw.
There are more advanced techniques for those looking to refine their craft, and there are countless missteps that can result in a less-than-perfect batch, but hopefully this outline will serve as a starting point for exploring one of Japan’s most iconic foods.
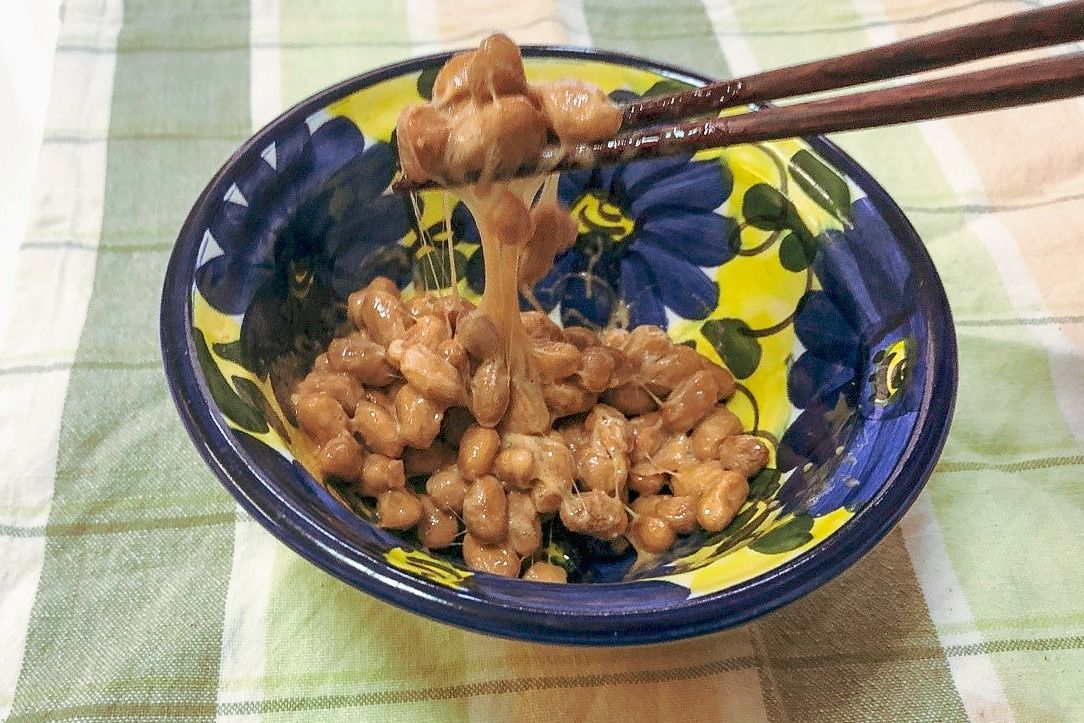
A good batch of nattō will be gooey and produce strands when stirred.
(Originally published in English. Banner photo: The author proudly displays his DIY bundle of rice straw. All photos © Nippon.com.)